
This week I want to dig deeper into the MCX's MIDI clock, MIDI over USB, and how to Jump Banks on the MCX. We made sure to include these three features in our web editor as making the right use of them will make your rig super flexible!
MIDI Clock
The use of the MIDI clock in the MCX is extremely powerful, in fact I could argue it offers the most MIDI clock features of any other MIDI controller on the market today. The MCX has 5 different MIDI commands to manipulate the MIDI clock; Send MIDI Clock via Tap Tempo, Stop the MIDI Clock, Send a specific MIDI BPM, Increment BPM (increase the MIDI Clock by 1 BPM per tap), and Decrement BPM (decrease the MIDI Clock by 1 BPM per tap). We also have a super unique feature that can be turned on/off in the global settings.
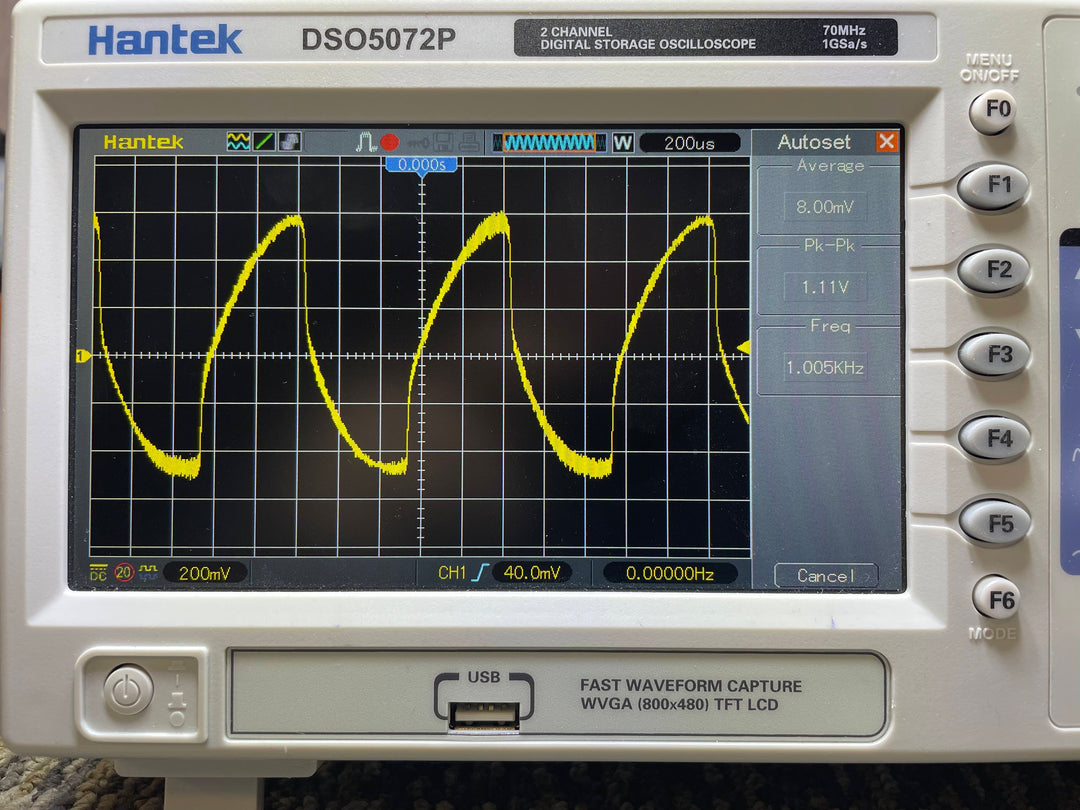
Have you ever built a pedalboard and/or added MIDI to an existing board and noticed you get a loud and rapid clicking noise when you use MIDI? What you are experiencing is bleed thru of the MIDI signal leaking into your analog signal. This is because MIDI operates at a much larger voltage (5V) than our instrument level signals (usually less than 1V). Really the only way to fix this is to redo all of your cabling/routing and make sure to keep all MIDI cables separated from analog cables, which can be tough, time consuming, expensive, or at times impossible! By default, most MIDI controllers and MIDI pedals will continuously send the MIDI clock information, which can add noise to your signal path and will clog up the MIDI communication "highway" making it hard for other pedals to consistently receive other MIDI messages. We decided to fix these issues by automatically turning off the MIDI signal after 5 seconds, which is plenty of time to sync up all of your pedals and then you won't have that annoying clicking noise. In case you have a stubborn pedal and 5 seconds isn't enough, in the MCX's global settings, this feature can be turned off. Then we would use the Stop MIDI Clock command, just wait for that stubborn pedal to sync and then stop the clock, problem solved!
Ok... let's dive into how I use the MCX's MIDI Clock on a weekly basis. I use each bank on the MCX as a song preset, then use the individual presets for Intro, Verse, Chorus, Bridge, etc. (see picture below)

As you can see, the Intro preset has the BPM listed in the preset name and this is the BPM that I will send to the MIDI Clock (see picture below). For instance look at We Praise You, notice it says 85.5 BPM, what....?! Did you know the MCX can literally send a half of a BPM? Well technically it can send 85.2 or 85.9 or 85.7...! Just put the whole number in the Num 1 slot and the fraction in the Num 2 slot (Num 2 accepts any number 1 thru 9).

Using this method insures that all of our time based pedals will be completely synced to the BPM (assuming your worship team plays to a click track or backing tracks). If your worship team doesn't use a click track we have another option which is Send MIDI Clock via Tap Tempo. Simply assign a preset with this command and then you can tap in your tempo and your MIDI pedals will all be completely in sync with what you tapped in, no need to tap individual pedals separately.
Let's say you spent all week practicing for Sunday morning, you've programmed your MCX to send all of the BPM's (per the chord chart or worship leaders direction) but show up for practice and someone calls an audible (that's too slow, let's bump that BPM up just a bit)... What do we do, besides start to pull our hair out? Since you likely don't want to bring your computer to practice just to change a BPM or two, we can use the Jump to MCX Bank command and the Increment/Decrement BPM commands! Like I said earlier I use one bank per song, our church (and I'm guessing yours too) doesn't play 8 songs for worship on a regular basis. This means I can use a bank on the MCX (usually the last bank "Orange") dedicated to MIDI Clock commands. I also never use all 10 presets per bank so I assign the BC long press to "jump to" the Orange bank. In the Orange bank I use short press B to Send MIDI BPM of 72 which is a good starting place. Then I assign short press A and C to Decrement and Increment BPM. Now with each tap of either button A or C it will decrease or increase the BPM by 1 BPM, but that's not it... If you need to increase the BPM by quite a bit, say 72 to 86, nobody wants to hit button C 14 times, so we've included a fast scroll when you hold down the button assigned to either Decrement or Increment BPM! With these added features you should be able to get to the right BPM on the fly, let's see it in action in the video below.
MIDI Over USB
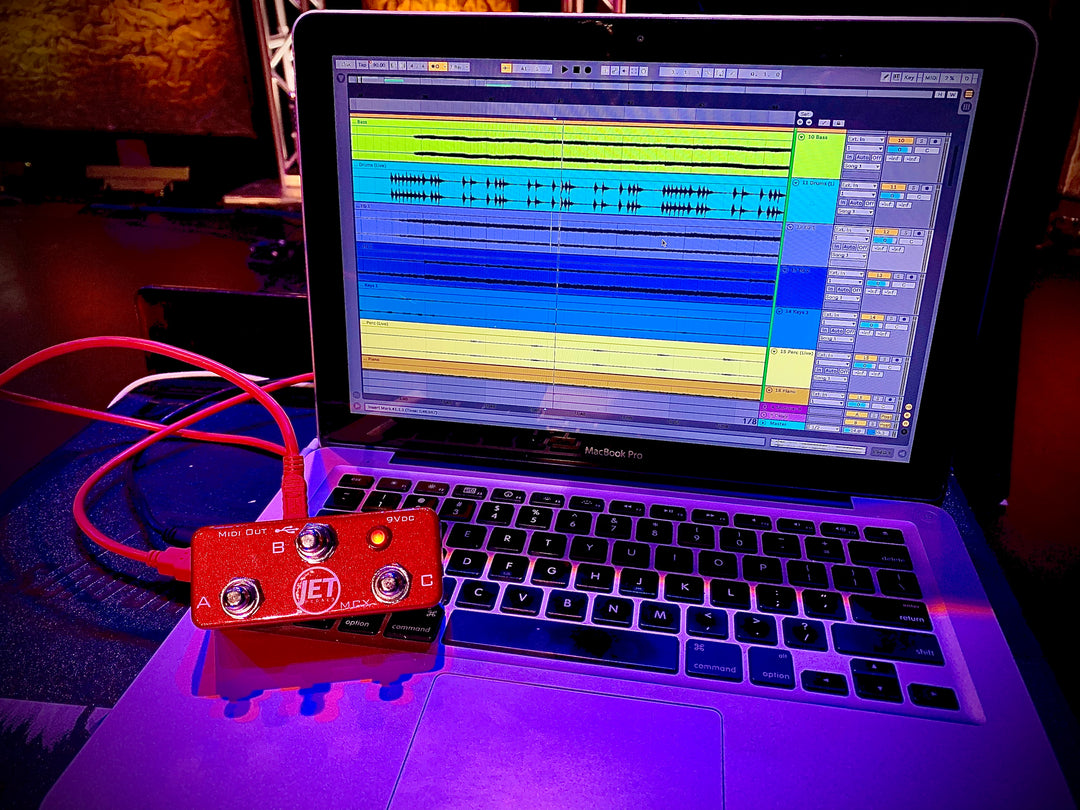
The last thing I want to talk about is how the MCX is USB class compliant. Meaning it can be powered over the USB port on your computer as well as every MIDI message it sends, will not only go out over the 5-pin MIDI port, but also the USB port. There are really two main reasons to use MIDI over USB, the first is to control any software that accepts MIDI over USB. This can be any DAW like Pro Tools, Ableton, etc. or you can control a standalone software like the Line 6 Helix Native, or any other software that accepts MIDI over USB. The second way to use MIDI over USB would be to use the MCX as a MIDI relay. A MIDI relay will accept incoming MIDI messages from your computer and then send those messages out to your pedalboard via the 5-pin MIDI jack. Any music directors reading this blog?! Imagine programming the MCX to control Ableton (Play, Stop, Mute Tracks, Jump to Cue's, etc.) and then programming Ableton to control your whole pedalboard! Now your pedalboard is completely sync'd with your tracks and no more stomping around on all of your pedals. This gives you less to worry about so you can focus on what the worship leader is doing and direct the band accordingly.
Obviously we don't have the time to get into the weeds on how to set all of this up, but we plan to start releasing a bunch of how-to videos on the MCX and this will be one of them. Just know that there is nothing else you need to do when using MIDI over USB, just program your MCX and it will automatically fire over both the 5-pin MIDI port as well as the USB port.
Until next time... drop us a question or comment below and let us know if you are using any of these features in your current rig!
- Junior "JET" Thomason

Leave a comment